Soft Chewy Chocolate Chip Cookies-Gooey Bliss
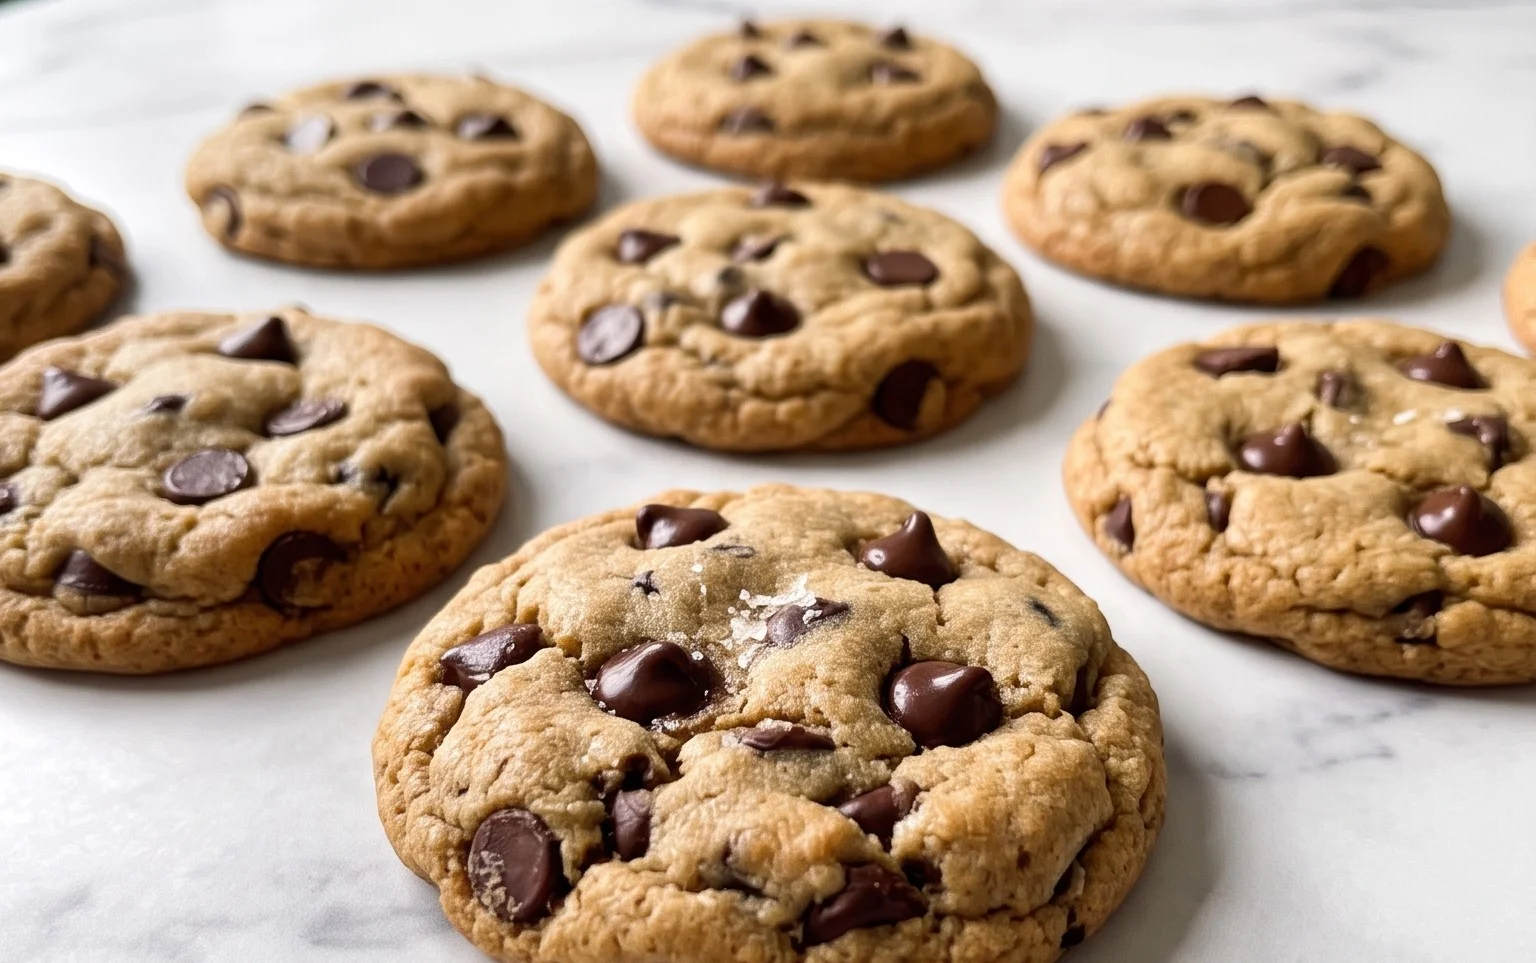
Soft and chewy chocolate chip cookies are a universally adored classic for a reason. There’s something incredibly comforting about biting into a warm, slightly underbaked cookie, where the chocolate is still melty and the edges offer just the slightest crisp. But what truly elevates these treats from good to unforgettable? It’s the perfect balance – that magical alchemy that results in a cookie that’s irresistibly tender in the center while maintaining a delightful chewiness throughout. Forget those dry, crumbly disappointments; this recipe is my go-to for achieving that quintessential melt-in-your-mouth experience that has everyone reaching for a second (or third!) helping. Get ready to create the ultimate batch of soft and chewy chocolate chip cookies that will become your new signature bake.
Your Ultimate Guide to Perfect
The Best Soft and Chewy Chocolate Chip Cookies
Soft and Chewy Chocolate Chip Cookies
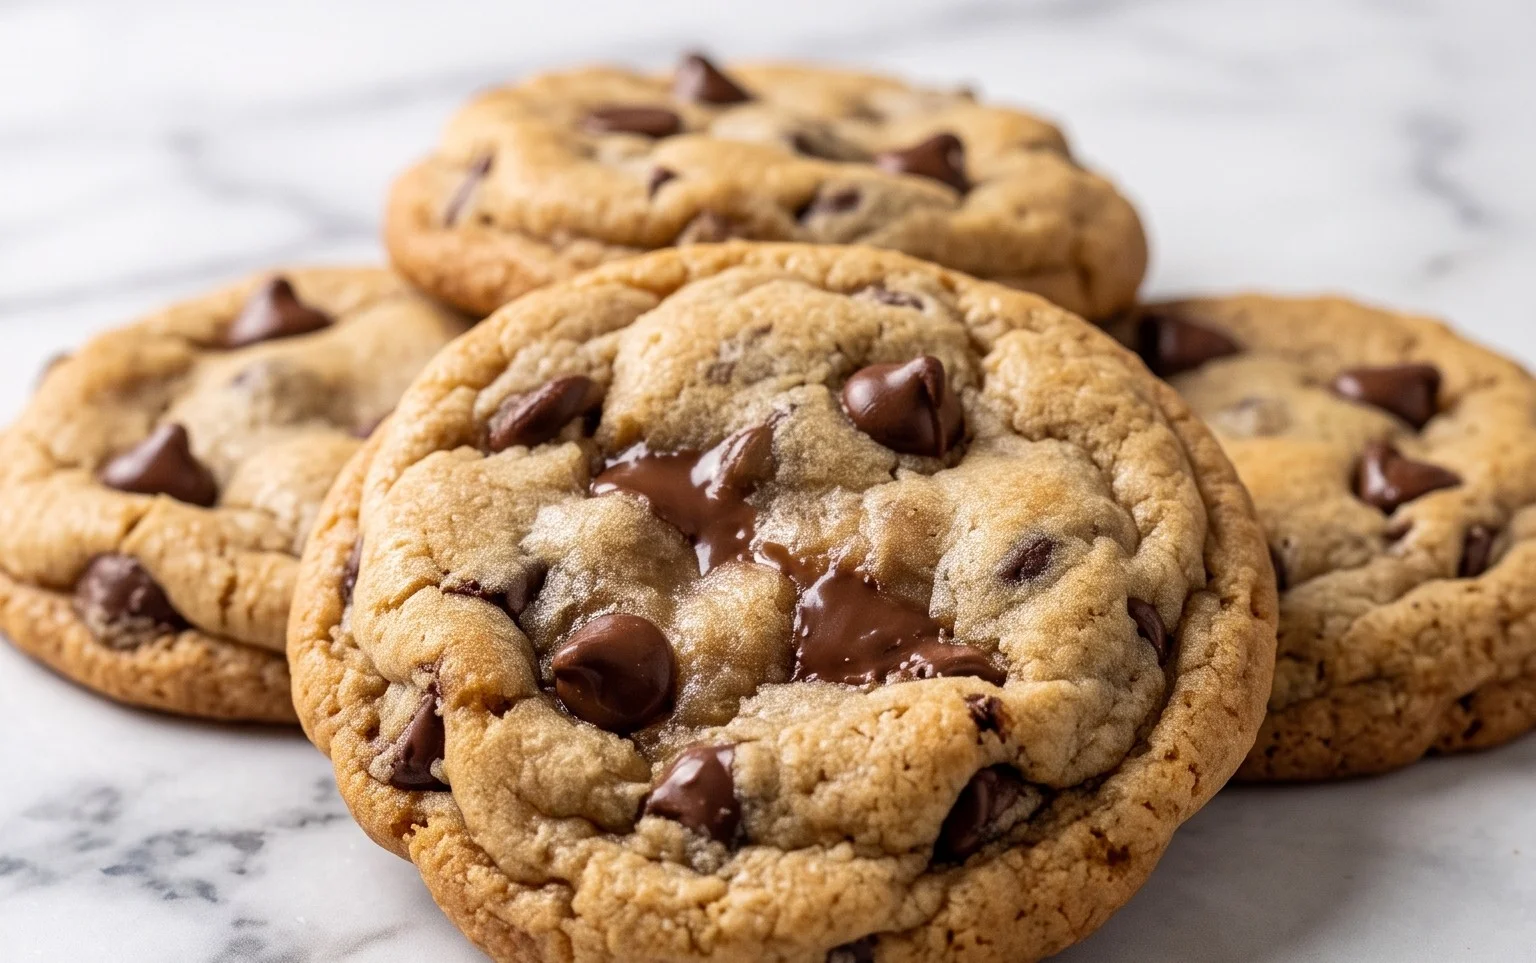
There’s a special kind of magic in a perfectly soft and chewy chocolate chip cookie. The kind that has that delightful golden-brown edge, a yielding center, and pockets of gooey, melted chocolate that stretch with every bite. It’s a classic for a reason, and I’m thrilled to share my go-to recipe that consistently delivers on that promise of pure cookie bliss. Forget those dry, crumbly imposters; this recipe is all about achieving that irresistible texture that makes you want to bake batch after batch. The secret lies in a few key ratios and techniques, which I’ll walk you through every step of the way.
Ingredients:
- 2 and 3/4 cups (345 grams) all-purpose flour
- 1 teaspoon baking soda
- 1 teaspoon salt
- 1 cup (230 grams; 2 sticks) unsalted butter, softened
- 1 cup (200 grams) light brown sugar (packed)
- 1/2 cup (100 grams) granulated sugar
- 2 large eggs (at room temperature)
- 2 teaspoons pure vanilla extract
- 1 12-ounce package (2 cups; 340g) semi-sweet chocolate chips
Creating the Cookie Dough
The journey to perfect cookies begins with the right foundation, and that starts with creaming our butter and sugars. This step is crucial for developing that tender texture and sweet flavor.
1. **Cream the Butter and Sugars:** In a large mixing bowl, combine the softened unsalted butter, packed light brown sugar, and granulated sugar. Using an electric mixer (or a stand mixer with a paddle attachment), beat these ingredients together on medium speed until the mixture is light, fluffy, and pale in color. This process, known as creaming, incorporates air into the dough, which contributes to the cookies’ lift and tender crumb. Don’t rush this step; it can take 3-5 minutes. Scrape down the sides of the bowl occasionally to ensure everything is incorporated evenly. The combination of brown sugar and granulated sugar is a deliberate choice. The brown sugar, with its higher moisture content and molasses, contributes to chewiness and a richer caramel-like flavor. The granulated sugar, on the other hand, helps with spread and crispness around the edges.
2. **Incorporate Eggs and Vanilla:** Add the large eggs, one at a time, beating well after each addition until fully incorporated. It’s important that your eggs are at room temperature, as they emulsify better with the butter and sugar mixture, leading to a smoother, more stable dough. If your eggs are cold, you can warm them by placing them in a bowl of warm (not hot) water for about 5-10 minutes. Next, stir in the pure vanilla extract. Vanilla is more than just a flavor enhancer; it adds a wonderful depth and complexity to the overall cookie profile. Make sure to use pure vanilla extract for the best results, as imitation vanilla can have a less nuanced flavor.
Adding the Dry Ingredients and Chocolate
Now it’s time to bring together the dry ingredients and our beloved chocolate chips. Precision here ensures the perfect balance of structure and flavor.
3. **Combine Dry Ingredients:** In a separate medium bowl, whisk together the all-purpose flour, baking soda, and salt. Whisking these dry ingredients beforehand ensures they are evenly distributed, preventing pockets of leavening agents or salt in your finished cookies. The baking soda is essential for the cookies to spread and achieve their characteristic chewy texture. Salt, while seemingly simple, plays a vital role in balancing the sweetness and enhancing all the other flavors in the cookie.
4. **Combine Wet and Dry Ingredients:** Gradually add the dry ingredient mixture to the wet ingredients, mixing on low speed until just combined. Be careful not to overmix at this stage. Overmixing can develop the gluten in the flour too much, resulting in tough cookies. Mix until no dry streaks of flour remain. The dough will likely be quite soft at this point, which is exactly what we want for chewy cookies.
5. **Add the Chocolate Chips:** Gently fold in the semi-sweet chocolate chips using a spatula or wooden spoon. Distribute them as evenly as possible throughout the dough. If you like a more intense chocolate flavor, you can reserve a small handful of chips to press onto the tops of the dough balls before baking. This recipe uses a generous amount of chocolate chips, ensuring that almost every bite is loaded with that satisfying chocolatey goodness. The semi-sweet variety offers a perfect balance, not too sweet and not too bitter, complementing the buttery dough beautifully.
Baking to Perfection
The final stage is where the magic truly happens, transforming our dough into irresistible cookies. Patience and a keen eye will yield the best results.
Baking Instructions
1. **Chill the Dough (Optional but Recommended):** For the ultimate chewy texture and to prevent excessive spreading, I highly recommend chilling the cookie dough. Cover the bowl tightly with plastic wrap and refrigerate for at least 30 minutes, or even up to 2-3 days. Chilling allows the flour to hydrate fully and solidifies the butter, which helps control the spread and intensifies the flavors. If you’re short on time, you can skip this step, but the results will be slightly different.
2. **Preheat Oven and Prepare Baking Sheets:** Preheat your oven to 375°F (190°C). Line baking sheets with parchment paper. This prevents sticking and makes for easier cleanup.
3. **Scoop and Arrange Dough:** Drop rounded tablespoons of dough onto the prepared baking sheets, leaving about 2 inches between each cookie to allow for spreading. If you didn’t chill the dough, you might want to flatten the dough balls slightly with the palm of your hand. If you chilled the dough, the balls will hold their shape better.
4. **Bake the Cookies:** Bake for 9-12 minutes, or until the edges are golden brown and the centers still look slightly soft and underbaked. This is the key to a chewy cookie! They will continue to set up as they cool on the baking sheet. Avoid overbaking, as this will result in dry, crisp cookies. Keep a close eye on them, as ovens can vary.
5. **Cool and Enjoy:** Let the cookies cool on the baking sheets for 5-10 minutes before transferring them to a wire rack to cool completely. This allows them to firm up. The aroma that fills your kitchen during this process is non-intoxicating! Once cooled, these soft and chewy chocolate chip cookies are ready to be devoured. They are best enjoyed warm, with a glass of milk, of course. Store any leftovers in an airtight container at room temperature for up to 3 days. You’ll find they remain wonderfully chewy.
Conclusion:
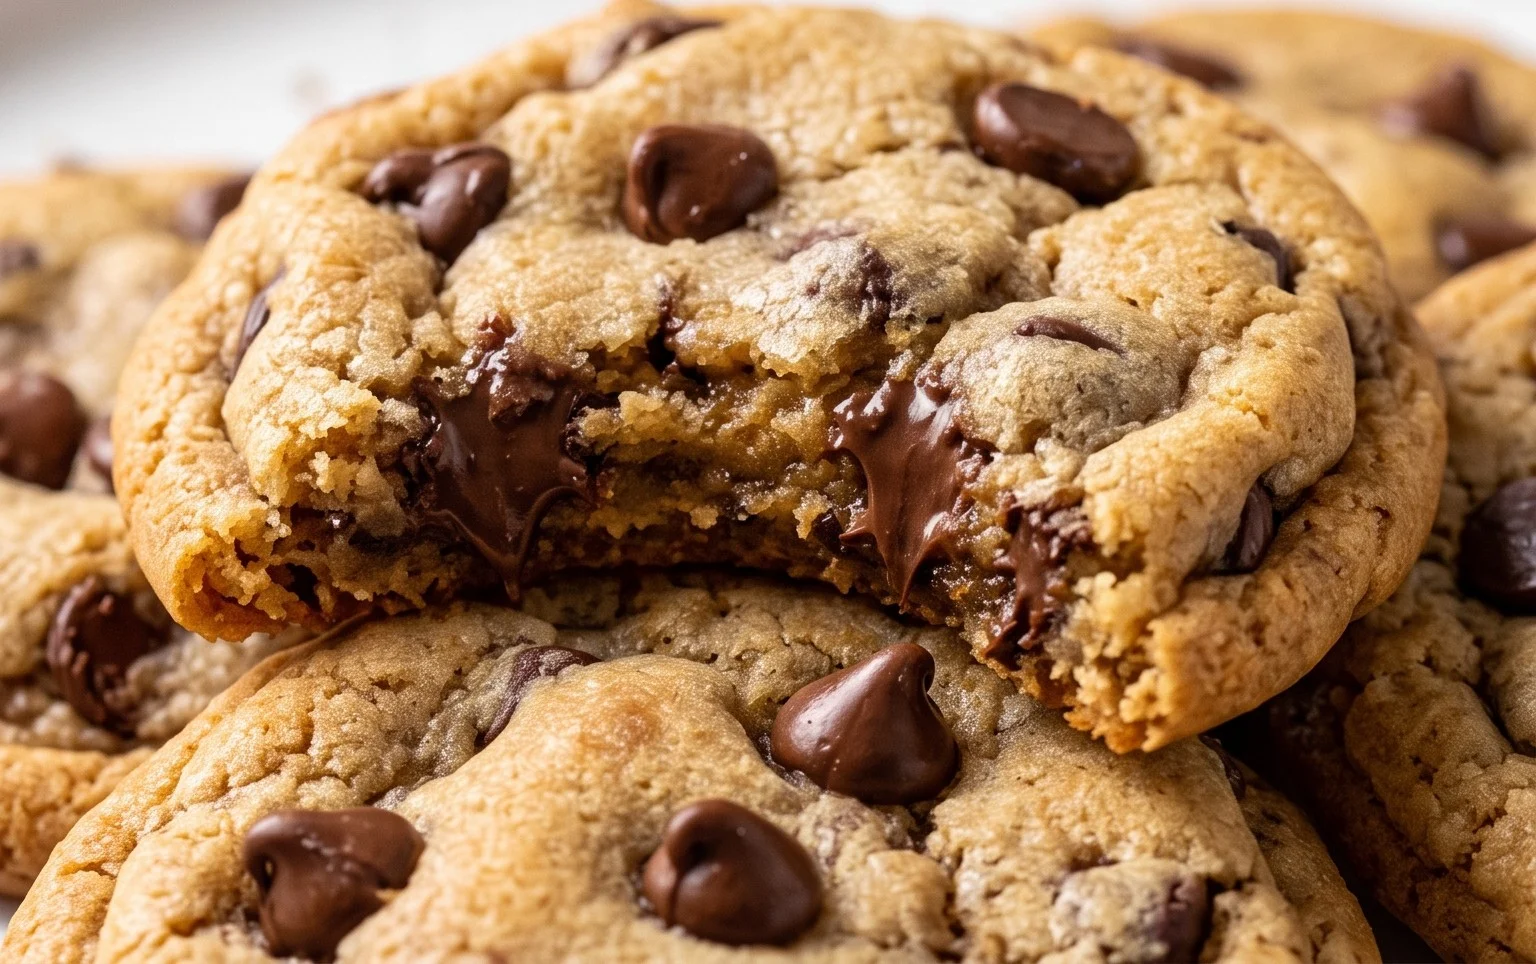
And there you have it – the recipe for truly soft and chewy chocolate chip cookies! We’ve covered everything from the magic of brown sugar and the perfect ratio of ingredients to achieving that irresistible texture that’s both tender and delightfully chewy. These cookies are a crowd-pleaser for a reason, offering that classic, comforting taste that brings back warm memories with every bite. They are fantastic on their own, of course, but imagine them served warm from the oven with a tall glass of cold milk, or perhaps crumbled over a scoop of vanilla bean ice cream for an extra decadent dessert. If you’re feeling adventurous, consider adding a pinch of sea salt on top before baking for a delightful sweet and salty contrast, or mix in some chopped nuts like walnuts or pecans for added crunch. I truly encourage you to give this recipe a try; I’m confident you’ll be delighted with the results!
Frequently Asked Questions:
Why are my cookies not chewy?
The key to chewy cookies often lies in the amount of brown sugar used (which contains molasses) and not overbaking them. Make sure you’re measuring your flour correctly (spoon and level it) as too much flour can make cookies cakey rather than chewy. Also, a slightly underbaked cookie will continue to set as it cools, resulting in that perfect chewy texture.
Can I use chocolate chunks instead of chips?
Absolutely! Using chocolate chunks will create larger pockets of melted chocolate throughout your cookies, which is wonderful. They might take a minute or two longer to bake as they’re larger, so keep an eye on them. The texture might be slightly different with the larger melty pools, but it’s a delicious variation!
Soft and Chewy Chocolate Chip Cookies
Classic chocolate chip cookies with a perfectly soft and chewy texture.
Ingredients
-
2 and 3/4 cups (345 grams) all-purpose flour
-
1 teaspoon baking soda
-
1 teaspoon salt
-
1 cup (230 grams; 2 sticks) unsalted butter, softened
-
1 cup (200 grams) light brown sugar (packed)
-
1/2 cup (100 grams) granulated sugar
-
2 large eggs (at room temperature)
-
2 teaspoons pure vanilla extract
-
1 12-ounce package (2 cups; 340g) semi-sweet chocolate chips
Instructions
-
Step 1
Preheat oven to 375°F (190°C). Line baking sheets with parchment paper. -
Step 2
In a medium bowl, whisk together the flour, baking soda, and salt. Set aside. -
Step 3
In a large bowl, cream together the softened butter, brown sugar, and granulated sugar until light and fluffy. -
Step 4
Beat in the eggs one at a time, then stir in the vanilla extract. -
Step 5
Gradually add the dry ingredients to the wet ingredients, mixing until just combined. Do not overmix. -
Step 6
Stir in the semi-sweet chocolate chips. -
Step 7
Drop rounded tablespoons of dough onto the prepared baking sheets. -
Step 8
Bake for 9-11 minutes, or until the edges are golden brown and the centers are still slightly soft. -
Step 9
Let the cookies cool on the baking sheets for a few minutes before transferring them to a wire rack to cool completely.
Important Information
Nutrition Facts (Per Serving)
It is important to consider this information as approximate and not to use it as definitive health advice.
Allergy Information
Please check ingredients for potential allergens and consult a health professional if in doubt.