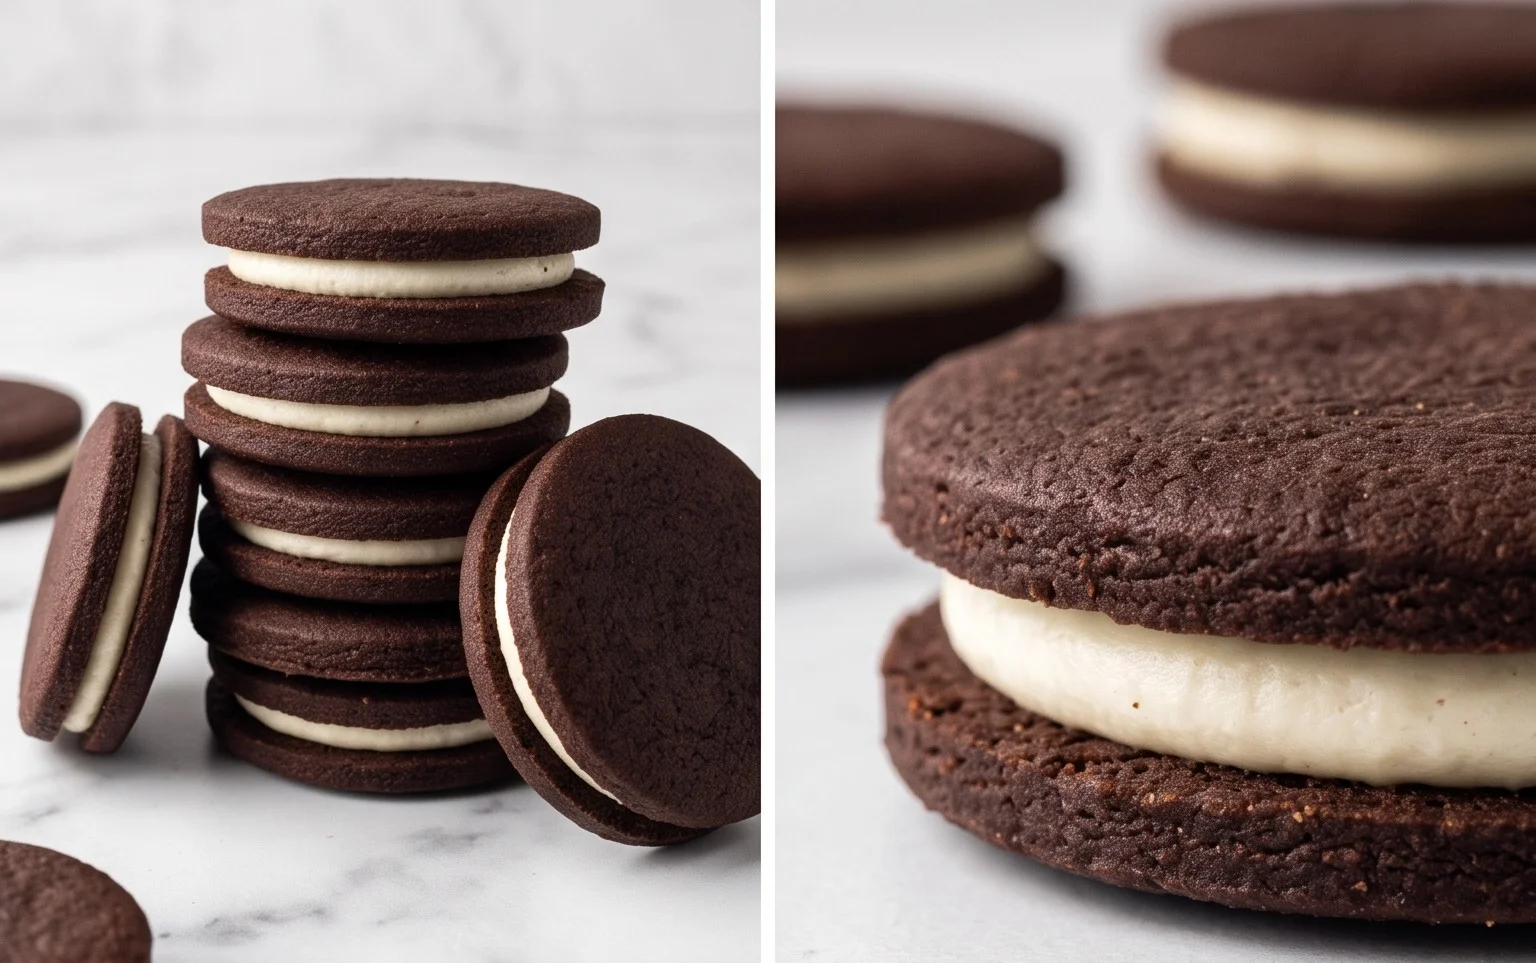
Simple Vanilla Wafer Recipe – Elegant & Nostalgic
Vanilla wafers. Oh, the simple, elegant joy of a perfect vanilla wafer! For me, they’re more than just a cookie; they’re a gateway to cherished memories, a whisper of childhood afternoons spent with a glass of milk. What is it about these delicate, crisp discs that captures our hearts? It’s their understated perfection. They possess a subtle sweetness and a whisper of vanilla that never overwhelms, allowing their pure, buttery essence to shine through. Unlike many overly-sweetened treats, the beauty of the vanilla wafer lies in its delightful simplicity. They are incredibly versatile, serving as the perfect base for decadent desserts like banana pudding or tiramisu, or standing proudly on their own as a satisfyingly crisp snack. This recipe is designed to recreate that authentic, melt-in-your-mouth texture and classic flavor that makes vanilla wafers so utterly irresistible.
Why You’ll Love This Recipe
Simple Ingredients, Exceptional Results
We’re diving into a recipe that proves you don’t need complicated techniques or exotic ingredients to achieve cookie perfection. This recipe focuses on the fundamentals, ensuring that every batch of vanilla wafers you bake will be light, airy, and packed with that signature comforting flavor.

Ingredients:
- 1 ½ cups all-purpose flour
- ¾ teaspoon baking powder
- ½ teaspoon Kosher salt
- ½ cup unsalted butter, (room temperature)
- ½ cup confectioners’ sugar
- ¼ cup granulated sugar
- 1 large egg, (room temperature)
- 1 tablespoon vanilla extract
- 1 tablespoon whole milk
Vanilla Wafers: A Recipe for Simple Elegance
There’s something undeniably comforting and nostalgic about a perfectly baked vanilla wafer. These delicate, crisp cookies are not just a delightful treat on their own, but they also form the foundation for so many other delicious desserts. Think of strawberry shortcake, banana pudding, or even a beautifully layered trifle – all elevated by the humble vanilla wafer. Today, we’re going to dive into creating these classic cookies from scratch, and I promise, it’s a simpler process than you might imagine. With just a few pantry staples and a little bit of love, you’ll be enjoying the irresistible crunch and sweet vanilla aroma of homemade vanilla wafers in no time. Get ready to impress yourself and anyone lucky enough to share these with you!
Crafting the Perfect Dough
The journey to our delicious vanilla wafers begins with preparing the dough. This stage is all about achieving the right balance of ingredients to create a tender yet firm cookie that will hold its shape beautifully during baking.
1. Dry Ingredients: The Foundation of Flavor and Texture
First things first, let’s get our dry ingredients ready. In a medium-sized bowl, whisk together the 1 ½ cups of all-purpose flour, ¾ teaspoon of baking powder, and ½ teaspoon of Kosher salt. Whisking isn’t just about combining; it’s about aerating the flour and distributing the leavening agent (baking powder) and salt evenly throughout. This ensures that every bite of your wafer has the perfect balance of saltiness and a gentle lift from the baking powder. Set this bowl aside for now.
2. Creaming the Butter and Sugars: The Key to a Tender Crumb
Now, let’s move on to the heart of the cookie’s texture and sweetness. In a large bowl, cream together the ½ cup of room-temperature unsalted butter, ½ cup of confectioners’ sugar, and ¼ cup of granulated sugar. You can do this using an electric mixer (stand mixer with the paddle attachment or a hand mixer) or by hand with a sturdy whisk and some elbow grease. The goal is to beat these ingredients together until they are light, fluffy, and pale yellow in color. This process, known as creaming, incorporates air into the mixture, which contributes to the cookie’s tenderness and prevents it from becoming tough. Confectioners’ sugar, being very finely ground, dissolves easily and helps create a smooth texture, while the granulated sugar adds a touch more sweetness and a slight crispness. Don’t rush this step; it’s crucial for achieving that melt-in-your-mouth quality.
3. Incorporating the Wet Ingredients: Binding it All Together
Once your butter and sugar mixture is perfectly creamed, it’s time to add the wet ingredients. Beat in the 1 large room-temperature egg until it’s fully incorporated. The room temperature egg will emulsify more easily into the butter and sugar, preventing a greasy or curdled texture. Next, add the 1 tablespoon of vanilla extract. Using a good quality vanilla extract will really shine through in these simple wafers, so don’t skimp here! Finally, stir in the 1 tablespoon of whole milk. The milk adds just enough moisture to bring the dough together into a cohesive, yet still slightly soft, mass.
4. Combining Wet and Dry: Forming the Dough
Now, it’s time to bring our dry and wet ingredients together. Gradually add the flour mixture to the wet ingredients, mixing on low speed or by hand until just combined. Be careful not to overmix at this stage. Overmixing can develop the gluten in the flour too much, resulting in tough cookies. We want a tender crumb, so stop mixing as soon as you no longer see streaks of dry flour. The dough will be soft but should hold together. If it seems a bit too sticky to handle, you can cover it and chill it for about 15-20 minutes, but it’s often manageable at this stage.
Shaping and Baking: The Final Transformation
With our dough ready, we’re on the home stretch! This is where we give our wafers their signature shape and bake them to golden perfection.
5. Shaping the Wafers: Precision for Perfect Crisps
Preheat your oven to 350°F (175°C). Line baking sheets with parchment paper. This is a lifesaver for easy cleanup and ensures your wafers don’t stick. Now, for shaping. You can use a small cookie scoop or a tablespoon to drop rounded portions of dough onto the prepared baking sheets, leaving about 2 inches between each cookie as they will spread slightly. For perfectly uniform wafers, you can gently flatten each dollop of dough with the bottom of a glass or your fingers. If you want to get really precise and traditional, you can even try rolling the dough into a log and slicing it thinly, or using a piping bag with a plain round tip to pipe small rounds. The key is to make them relatively thin so they bake up crisp.
6. Baking to Golden Perfection
Bake the wafers for 10-12 minutes, or until the edges are lightly golden brown and the centers are set. The exact baking time will depend on your oven and the size of your wafers. Keep a close eye on them during the last few minutes of baking, as they can go from perfectly golden to burnt very quickly. The aroma in your kitchen will be absolutely divine as they bake! Once baked, let the wafers cool on the baking sheets for a minute or two before carefully transferring them to a wire rack to cool completely. This initial cooling on the sheet allows them to firm up just enough to be moved without breaking.
Once cooled, these homemade vanilla wafers are ready to be enjoyed! Store them in an airtight container at room temperature, and they’ll stay wonderfully crisp for several days. They are perfect for dipping in milk, coffee, or tea, or for starring in your favorite dessert creations. Happy baking!

Conclusion:
There you have it – a straightforward and incredibly rewarding recipe for homemade Vanilla Wafers! What makes this recipe truly special is its simplicity. You’ll be amazed at how easily you can create these delicate, crisp cookies that are far superior to any store-bought version. The subtle hint of vanilla, combined with that perfect snap, makes them an irresistible treat. Whether you’re looking for a classic afternoon snack, a delightful addition to a dessert board, or a base for more elaborate creations, these vanilla wafers are sure to impress.
I love serving these on their own with a cup of tea or coffee, but they also shine as a crunchy base for no-bake cheesecakes, a textural element in ice cream, or even crushed and used as a coating for fried desserts. Don’t be afraid to experiment with variations! You could add a touch of almond extract for a different nutty flavor, a pinch of cinnamon for warmth, or even some finely chopped zest from a lemon or orange for a citrusy twist. Give this recipe a try; I’m confident you’ll fall in love with the ease and the delicious results of your very own vanilla wafers!
Frequently Asked Questions:
How do I ensure my vanilla wafers are perfectly crisp?
Achieving that signature crispness is key. Make sure not to overmix your dough once the flour is added, as this can develop gluten and make the cookies tougher. Secondly, bake them until the edges are just beginning to turn a light golden brown. They will continue to crisp up as they cool on the baking sheet. Storing them in an airtight container once completely cooled is also crucial to maintain their texture.
Can I make these vanilla wafers ahead of time?
Absolutely! These vanilla wafers are fantastic for making ahead. Once cooled and stored properly in an airtight container at room temperature, they can stay fresh and crisp for up to a week. This makes them perfect for preparing for parties, holidays, or just having a stash of homemade cookies ready to go.
Vanilla Wafers
Crispy and delicate vanilla wafers, perfect for snacking or as a base for desserts.
Ingredients
-
1 ½ cups all-purpose flour
-
¾ teaspoon baking powder
-
½ teaspoon Kosher salt
-
½ cup unsalted butter, room temperature
-
½ cup confectioners’ sugar
-
¼ cup granulated sugar
-
1 large egg, room temperature
-
1 tablespoon vanilla extract
-
1 tablespoon whole milk
Instructions
-
Step 1
Preheat oven to 350°F (175°C). Line baking sheets with parchment paper. -
Step 2
In a medium bowl, whisk together the flour, baking powder, and salt. -
Step 3
In a large bowl, cream together the butter and both sugars until light and fluffy. -
Step 4
Beat in the egg and vanilla extract until well combined. -
Step 5
Gradually add the dry ingredients to the wet ingredients, alternating with the milk, mixing until just combined. Do not overmix. -
Step 6
Drop rounded teaspoons of dough onto the prepared baking sheets, about 2 inches apart. -
Step 7
Bake for 8-10 minutes, or until the edges are lightly golden brown. The centers should still be slightly soft. -
Step 8
Let the wafers cool on the baking sheets for a few minutes before transferring them to a wire rack to cool completely.
Important Information
Nutrition Facts (Per Serving)
It is important to consider this information as approximate and not to use it as definitive health advice.
Allergy Information
Please check ingredients for potential allergens and consult a health professional if in doubt.