Easy Homemade Pickled Jalapeños Flavor Boost
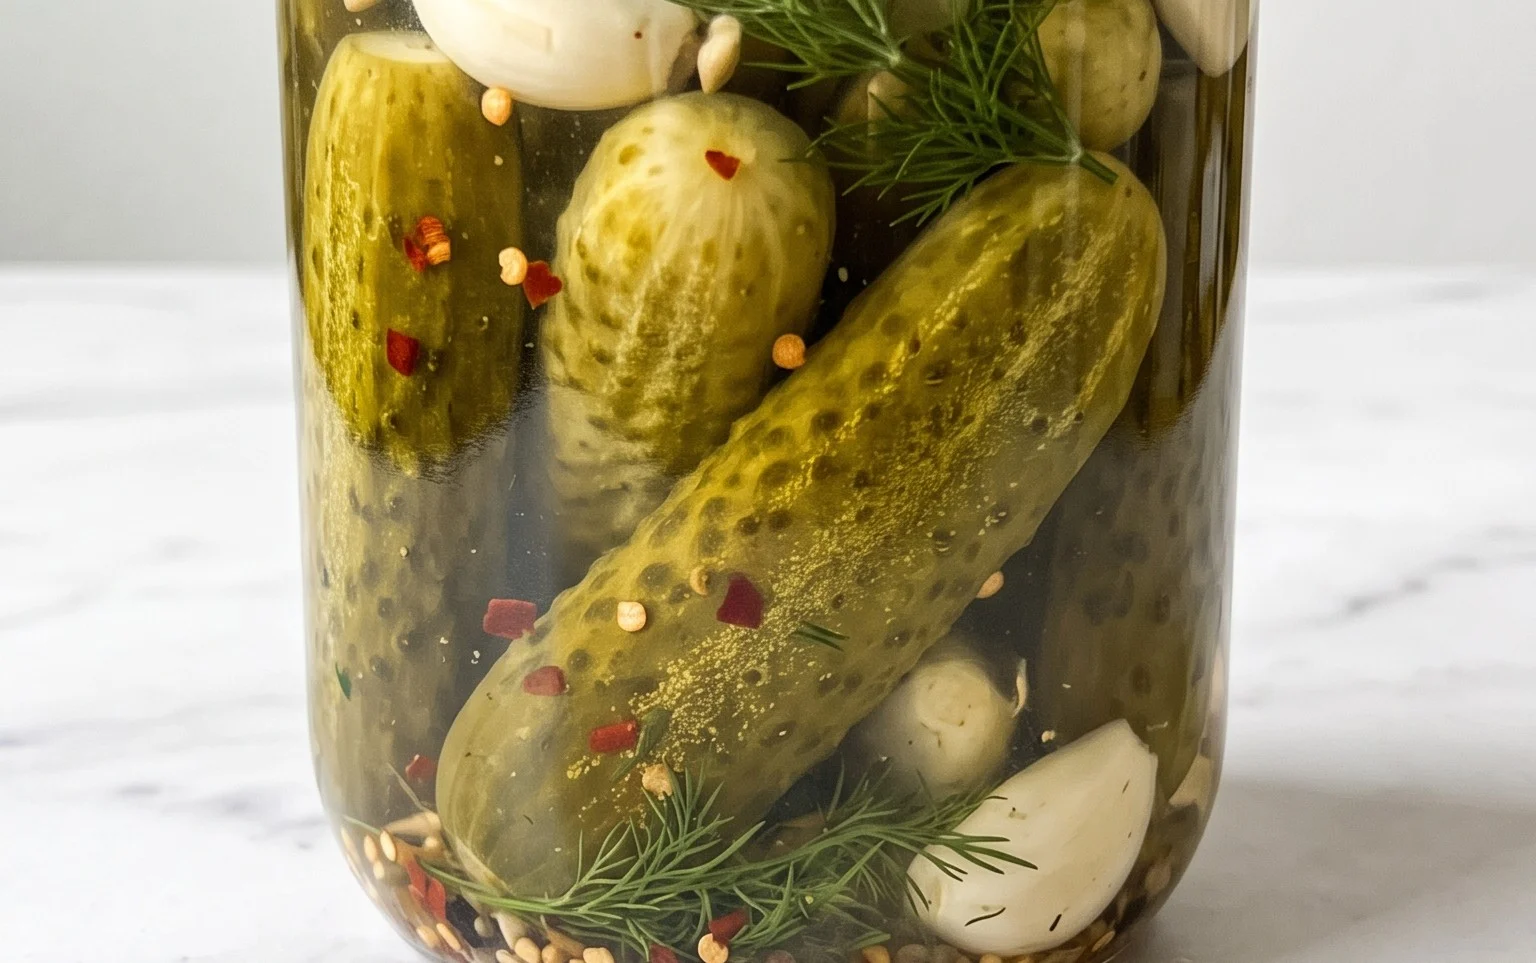
Homemade pickled jalapeños are a game-changer for any spice lover, transforming ordinary meals into explosions of vibrant flavor and satisfying heat. There’s something incredibly rewarding about creating your own jar of these zesty delights, knowing exactly what goes into each tangy, fiery bite. Why do we all obsess over pickled jalapeños? It’s the perfect balance: the crisp, slightly sweet vinegar brine cuts through the potent heat of the peppers, leaving a lingering warmth that’s utterly addictive. They’re not just spicy; they’re a culinary tool, adding a bright, piquant kick to everything from tacos and nachos to sandwiches and dips. Forget the store-bought stuff; making your own pickled jalapeños allows you to control the heat level, the sweetness, and even experiment with added aromatics. Let’s dive into how you can achieve this fantastic flavor in your own kitchen!
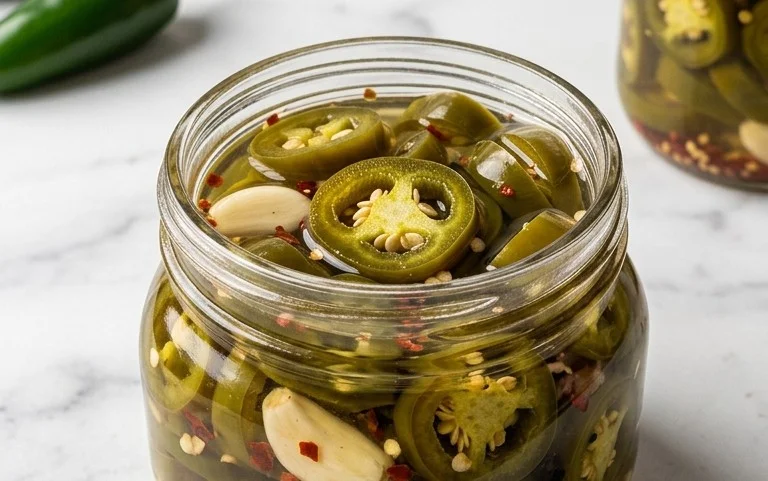
Homemade Pickled Jalapeños
There’s something incredibly satisfying about having a jar of homemade pickled jalapeños ready to go. They add that perfect kick of heat and vinegary tang to everything from tacos and sandwiches to nachos and even pizza. Forget the store-bought stuff; making your own is surprisingly simple, incredibly rewarding, and allows you to control the exact level of spice and flavor. We’ll walk you through the process, ensuring you end up with a jar of zesty goodness that will disappear in no time!
Ingredients:
- 1 pound jalapeños, stems removed and thinly sliced
- 2 garlic cloves, smashed and peeled
- 1 cup distilled white vinegar
- 1 cup water
- ¼ cup granulated sugar
- 2 tablespoons kosher salt
Cooking Instructions:
The beauty of pickling jalapeños lies in its straightforward process. It requires minimal hands-on time, and the magic happens as the ingredients meld together in their brine. Let’s get started!
1. Prepare Your Jalapeños: First things first, we need to get our jalapeños ready for their pickling bath. Make sure you’re working in a well-ventilated area, as slicing peppers can sometimes cause a bit of irritation. Using a sharp knife, carefully remove the stems from your pound of jalapeños. You can choose to remove the seeds and membranes if you prefer a milder pickle, or leave them in for extra heat. For this recipe, we’re slicing them thinly, about 1/8 to 1/4 inch thick. The thinner you slice them, the quicker they will pickle. Rinse your sliced jalapeños under cold water and pat them dry.
2. Prepare the Garlic: Next, we’ll tackle the garlic. Take your two garlic cloves, place them on a cutting board, and give them a good smash with the flat side of your knife. This helps to release their aromatic oils. Peel off the skins and set them aside. These smashed garlic cloves will infuse the brine with a wonderful savory depth that complements the jalapeños beautifully.
3. Sterilize Your Jar: It’s crucial to use a clean jar for pickling to prevent spoilage and ensure your pickled jalapeños stay fresh and safe. You can sterilize a mason jar by washing it thoroughly with hot, soapy water and then placing it in a preheated oven at 225°F (107°C) for at least 15 minutes. Alternatively, you can boil the jar and its lid in water for about 10 minutes. Once sterilized, carefully remove the jar and let it cool slightly.
4. Make the Pickling Brine: Now for the flavorful brine! In a medium saucepan, combine 1 cup of distilled white vinegar, 1 cup of water, ¼ cup of granulated sugar, and 2 tablespoons of kosher salt. Place the saucepan over medium-high heat. Stir the mixture constantly until the sugar and salt have completely dissolved. It’s important that they are fully dissolved for an even flavor distribution and proper preservation. Once dissolved, bring the brine to a boil. Once boiling, immediately remove the saucepan from the heat.
5. Assemble and Pickle: Carefully place the smashed garlic cloves into your sterilized jar. Then, pack the sliced jalapeños tightly into the jar, leaving about ½ inch of headspace at the top. Once the brine has cooled slightly (you don’t want it piping hot when it hits the glass), carefully pour the hot brine over the jalapeños and garlic, making sure to cover them completely. You might need to gently tap the jar on the counter to release any trapped air bubbles. Wipe the rim of the jar clean with a damp cloth. Screw on the lid tightly.
6. Cool and Refrigerate: Allow the jar of pickled jalapeños to cool at room temperature for about an hour. This allows the flavors to start mingling. Once cooled to room temperature, transfer the jar to the refrigerator. For the best flavor, I recommend waiting at least 24 to 48 hours before digging in. This allows the jalapeños to fully absorb the brine and soften to that perfect pickled texture. The longer they sit, the more intense the flavor will become. You’ll notice the color of the jalapeños will become a slightly brighter green as they pickle.
Enjoy your delicious, homemade pickled jalapeños! They are wonderful on so many dishes and can be stored in the refrigerator for several weeks. Don’t be afraid to experiment with adding other spices to your brine, like peppercorns or a bay leaf, for a custom flavor profile. Happy pickling!
Conclusion:
Making your own pickled jalapeños is incredibly rewarding! This recipe is fantastic because it’s simple, customizable, and results in bright, tangy, and perfectly spicy jalapeños that far surpass anything you can buy at the store. The process is straightforward, allowing you to control the exact level of heat and flavor. I absolutely encourage you to give this homemade pickled jalapeños recipe a try – you won’t regret it!
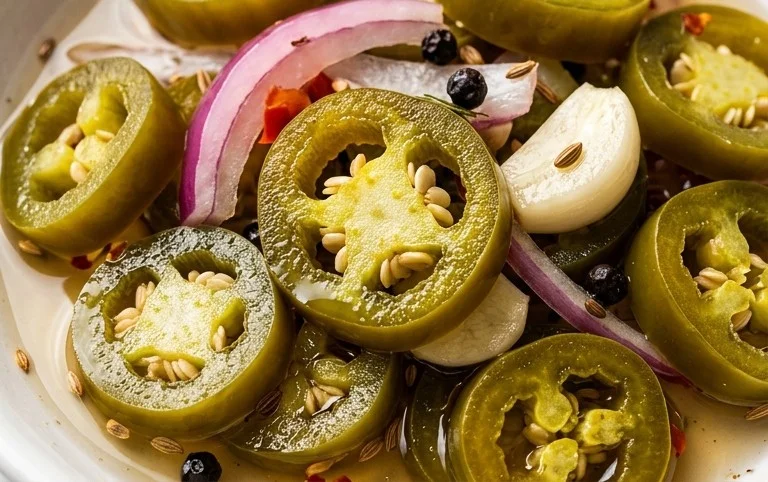
These versatile pickled peppers are a game-changer for so many dishes. Add them to tacos, nachos, sandwiches, burgers, salads, or even a simple cheese board. They provide a delightful pop of flavor and heat that elevates every bite. Don’t be afraid to get creative with variations! You can adjust the amount of sugar for sweetness, the type of vinegar for different tanginess (apple cider vinegar is a great alternative), or even add other spices like mustard seeds, peppercorns, or a pinch of chili flakes for extra complexity. Experimenting is part of the fun!
Frequently Asked Questions:
Q: How long do these pickled jalapeños last?
A: Properly stored in an airtight container in the refrigerator, your homemade pickled jalapeños can last for several months, usually up to 3-4 months. The vinegar and salt act as preservatives, so as long as they remain submerged in the brine and the jar is sealed, they’ll stay delicious.
Q: Can I make them less spicy?
A: Absolutely! To reduce the heat, you can remove the seeds and membranes from the jalapeños before slicing them. These are where most of the capsaicin, the compound that makes peppers spicy, is concentrated. You can also use fewer peppers or a milder pepper alongside the jalapeños if you prefer.
Homemade Pickled Jalapeños
Quick and easy recipe for homemade pickled jalapeños with a perfect balance of heat and tang.
Ingredients
-
1 pound jalapeños, stems removed and thinly sliced
-
2 garlic cloves, smashed and peeled
-
1 cup distilled white vinegar
-
1 cup water
-
¼ cup granulated sugar
-
2 tablespoons kosher salt
Instructions
-
Step 1
Wash and thinly slice the jalapeños, removing the stems. Smash and peel the garlic cloves. -
Step 2
In a medium saucepan, combine the distilled white vinegar, water, granulated sugar, and kosher salt. -
Step 3
Heat the mixture over medium heat, stirring until the sugar and salt are completely dissolved. Bring to a simmer. -
Step 4
Add the sliced jalapeños and smashed garlic cloves to the simmering brine. Cook for 5 minutes. -
Step 5
Remove the saucepan from the heat. -
Step 6
Carefully pack the jalapeños and garlic into a clean, sterilized jar, leaving some headspace. Pour the hot brine over the jalapeños, ensuring they are fully submerged. -
Step 7
Let the jar cool to room temperature, then seal and refrigerate. Allow to pickle for at least 24 hours before serving for best flavor.
Important Information
Nutrition Facts (Per Serving)
It is important to consider this information as approximate and not to use it as definitive health advice.
Allergy Information
Please check ingredients for potential allergens and consult a health professional if in doubt.