Hot Italian Sub Sliders Party Appetizer Recipe
Hot Italian Sub Sliders are about to become your new favorite weeknight win and game-day MVP! We’re talking all the bold, savory flavors of a classic, loaded Italian sub, magically shrunk down into perfectly portioned, bite-sized sliders. What’s not to love? It’s the ultimate comfort food, offering that satisfying, slightly spicy kick from the cured meats, the tangy brightness of peppers and onions, and the gooey, melty embrace of provolone cheese. These aren’t just mini sandwiches; they’re flavor explosions waiting to happen, designed for easy sharing and maximum enjoyment. Whether you’re hosting a crowd or just craving a serious flavor upgrade for lunch, these hot Italian sub sliders deliver an unforgettable taste experience that will have everyone asking for seconds. Get ready to impress with this delightful twist on an Italian classic!
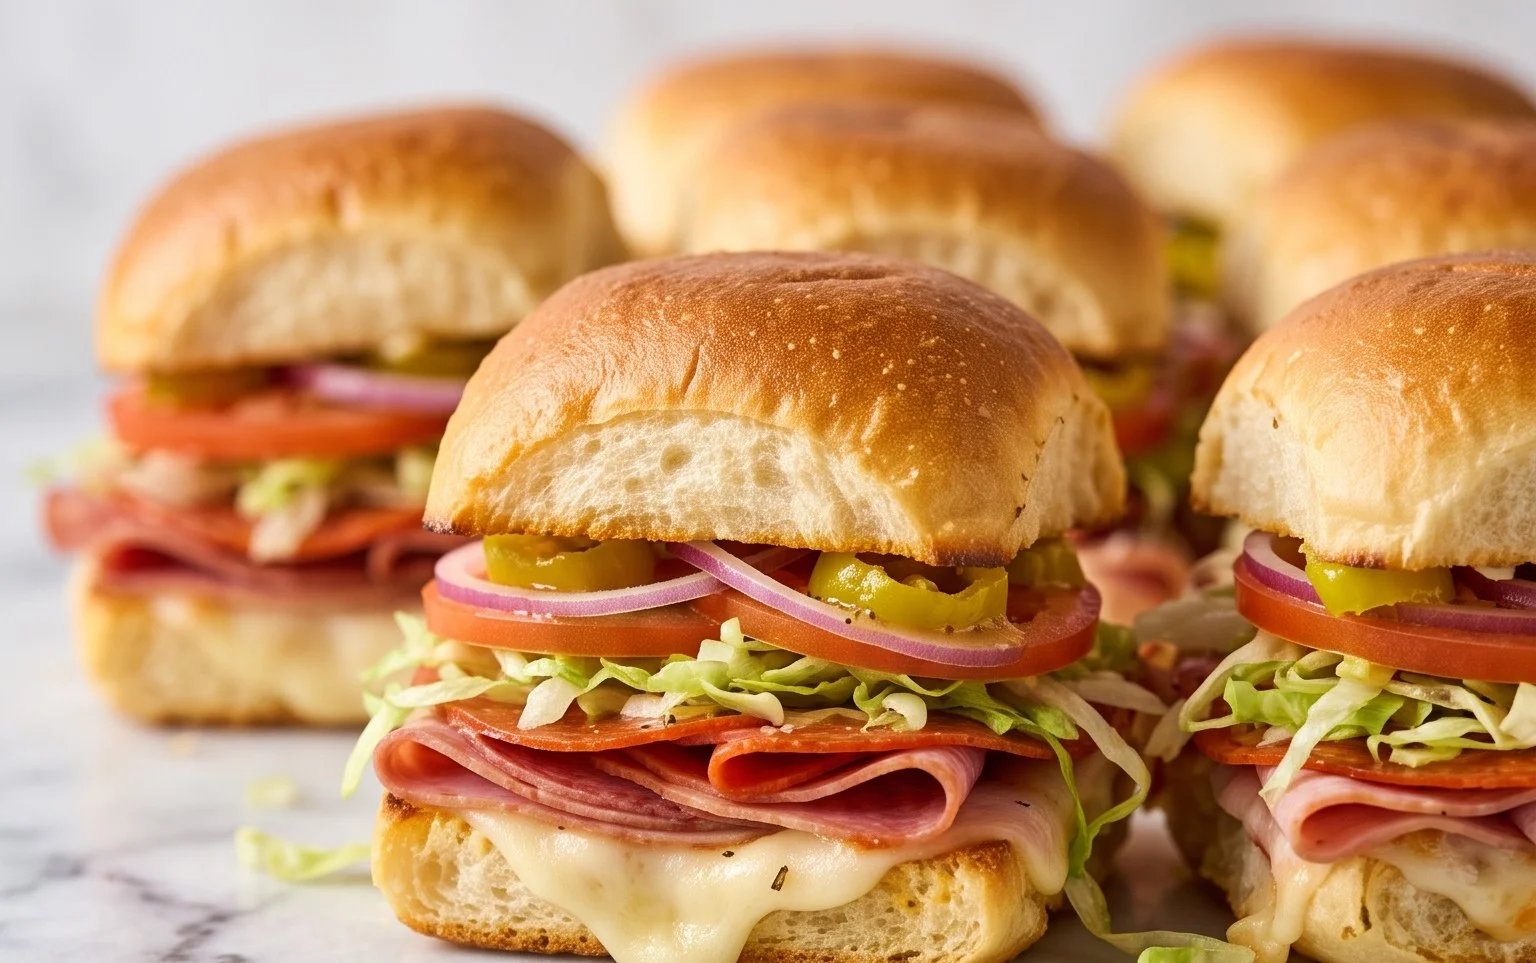
Hot Italian Sub Sliders
There’s something undeniably satisfying about a perfectly crafted Italian sub. The savory meats, the tangy peppers, the melty cheese – it’s a flavor explosion in every bite. But sometimes, a full-sized sub can be a bit much, especially when you’re hosting a party or just craving a smaller, more manageable taste of that classic Italian goodness. That’s where these Hot Italian Sub Sliders come in! They capture all the vibrant, bold flavors of a traditional Italian sub but in a fun, bite-sized package that’s perfect for sharing (or not!). I’ve found that using King’s Hawaiian rolls is a game-changer for sliders because their slight sweetness perfectly balances the savory and spicy elements. Get ready to impress your friends and family, or simply treat yourself to an incredibly delicious snack or light meal.
Ingredients:
- 12 pack rolls, halved lengthwise (I recommend Kings Hawaiian rolls)
- 6 oz package of beef beef ham, thinly sliced
- 5 oz package of beef beef salami, thinly sliced
- 5 oz package of beef beef pepperoni, thinly sliced
- 9 slices provolone cheese
- 1/3 cup pepperoncini, sliced
- 1/3 cup pickled hot cherry peppers, sliced
- 1/4 cup salted butter, melted
- 1 tsp Italian seasoning
- 2 cloves garlic, crushed (I recommend fresh over jarred.)
- 1 cup marinara sauce
Assembly and Baking
1. **Prepare the Rolls and Layer the Meats:** Start by carefully halving your 12-pack of rolls lengthwise. This creates the top and bottom halves for your sliders. Lay the bottom halves of the rolls, cut-side up, on a large baking sheet. Now, it’s time to build the flavor foundation. Begin by evenly distributing the thinly sliced beef beef ham across all the bottom slider buns. Don’t be shy with the beef ham; a good layer is key to that classic Italian sub taste. Next, layer the thinly sliced beef beef salami over the beef ham. Finally, add the beef beef pepperoni. I like to slightly overlap the meats to ensure every bite gets a good mix of all three. The more meat, the merrier, I always say!
2. **Add the Cheese and Peppers:** Once your meat layers are in place, it’s time for the glorious cheese and zesty peppers. Arrange the 9 slices of provolone cheese over the layered meats. I find that three slices per three rolls works well, but feel free to adjust based on your cheese-loving tendencies. Then, scatter the sliced pepperoncini and pickled hot cherry peppers evenly over the cheese. These little bursts of tangy heat are essential to the Italian sub experience, providing a wonderful contrast to the rich meats and melty cheese. Make sure to distribute them so each slider gets a good portion of their spicy, briny goodness.
3. **Create the Flavorful Butter Sauce:** In a small bowl, combine the melted salted butter, the crushed fresh garlic, and the Italian seasoning. Whisk everything together until well combined. This simple yet powerful mixture will infuse incredible flavor into the tops of your slider buns. The melted butter acts as a carrier for the garlic and herbs, ensuring a delicious, savory coating. Using fresh garlic will give you a more pungent and vibrant flavor compared to jarred, so it’s worth the extra effort.
4. **Top the Sliders and Prepare for Baking:** Carefully place the top halves of the slider rolls back onto the assembled sliders, completing the sandwiches. Now, take your prepared garlic butter mixture and generously brush it all over the top of each slider bun. Don’t be afraid to really get it on there; this is where a lot of that fantastic crust and flavor will come from. You want those tops to be beautifully golden brown and infused with garlic and herbs.
5. **Bake and Serve:** Now, preheat your oven to 350 degrees Fahrenheit (175 degrees Celsius). Place the baking sheet with the assembled sliders into the preheated oven. Bake for 15-20 minutes, or until the cheese is completely melted and gooey, and the tops of the rolls are golden brown and toasted. During the last few minutes of baking, I like to carefully open the oven and spoon a little bit of the warm marinara sauce over the top of the cheese on each slider. This adds an extra layer of moisture and a rich tomato flavor. Once out of the oven, let them cool for just a few minutes before slicing them apart (if they are still connected from the 12-pack roll sheet) and serving them warm. The melted cheese, the savory meats, and the slightly crisp, buttery tops make these Hot Italian Sub Sliders an absolute triumph. Enjoy every delicious bite!
Conclusion:
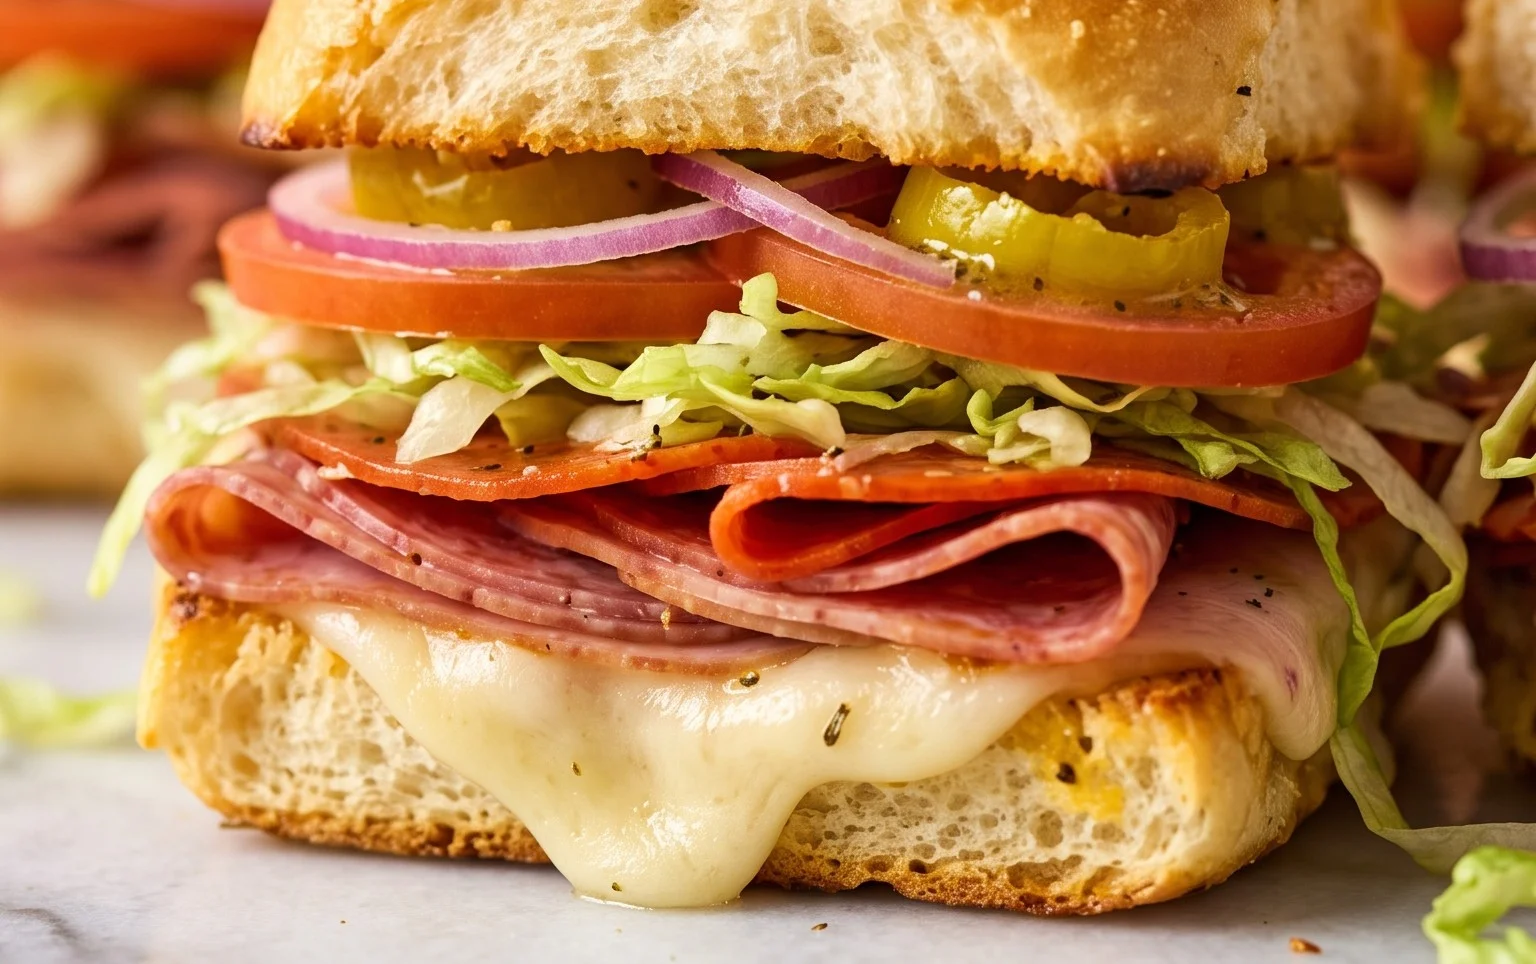
And there you have it! These Hot Italian Sub Sliders are an absolute winner for any gathering, game day, or even just a weeknight treat. We’ve packed all the classic, bold flavors of a traditional Italian sub into a perfectly bite-sized package. The combination of savory deli meats, melted provolone, zesty giardiniera, and that perfect toasted bun is simply irresistible. They’re incredibly easy to assemble, making them a stress-free option for hosts and a guaranteed crowd-pleaser for everyone lucky enough to snag one. Don’t be afraid to get creative with your fillings!
These sliders are fantastic served alongside some crunchy potato chips, a simple green salad, or even a cup of hearty tomato soup. For variations, consider swapping out the meats for your favorites – beef salami and beef ham work wonderfully. A sprinkle of oregano before baking adds an extra layer of aromatic deliciousness. I truly encourage you to give these Hot Italian Sub Sliders a try; you won’t regret it!
Frequently Asked Questions:
Can I make these sliders ahead of time?
Yes! You can assemble the sliders up to a few hours in advance. Cover them tightly with plastic wrap and refrigerate. When you’re ready to bake, simply remove the plastic wrap and bake as directed, adding a few extra minutes to ensure they’re heated through. This is a great way to prep for parties!
What can I use if I can’t find giardiniera?
If giardiniera isn’t available or you prefer something else, chopped sweet pickles or even a spicy relish can offer a similar tang and texture. Some people also enjoy adding a layer of sliced banana peppers for a bit of heat and tanginess.
Hot Italian Sub Sliders
Savory sliders packed with classic Italian deli meats, provolone cheese, and a zesty pepperoncini and cherry pepper mixture, baked to perfection.
Ingredients
-
12 pack rolls, halved lengthwise
-
6 oz package of ham, thinly sliced
-
5 oz package of salami, thinly sliced
-
5 oz package of pepperoni, thinly sliced
-
9 slices provolone cheese
-
1/3 cup pepperoncini, sliced
-
1/3 cup pickled hot cherry peppers, sliced
-
1/4 cup salted butter, melted
-
1 tsp Italian seasoning
-
2 cloves garlic, crushed
-
1 cup marinara sauce
Instructions
-
Step 1
Preheat oven to 350°F (175°C). -
Step 2
Arrange the bottom halves of the rolls in a 9×13 inch baking dish. -
Step 3
Layer the ham, salami, and pepperoni evenly over the roll bottoms. -
Step 4
Top the meats with the slices of provolone cheese. -
Step 5
In a small bowl, combine the sliced pepperoncini, sliced pickled hot cherry peppers, melted butter, Italian seasoning, and crushed garlic. Stir to combine. -
Step 6
Spoon the marinara sauce over the cheese. -
Step 7
Drizzle the pepperoncini and garlic butter mixture evenly over the marinara sauce. -
Step 8
Place the top halves of the rolls over the filling. -
Step 9
Cover the baking dish tightly with aluminum foil. Bake for 15 minutes. -
Step 10
Remove the foil and bake for an additional 5-7 minutes, or until the cheese is melted and bubbly and the rolls are lightly toasted. -
Step 11
Let stand for 5 minutes before slicing and serving.
Important Information
Nutrition Facts (Per Serving)
It is important to consider this information as approximate and not to use it as definitive health advice.
Allergy Information
Please check ingredients for potential allergens and consult a health professional if in doubt.
